Sidebar
Tool
Displays the settings of the active tool.
View Tab
Display
You can set the editors display options in this panel.
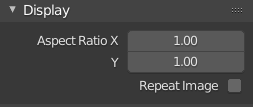
Display panel.
- Aspect Ratio
Display Aspect for this image. Does not affect rendering.
- Repeat Image
Duplicate the image until it is repeated to fill the main view.
Annotations
Options for the annotation tool. See Annotate Tool.
Scopes
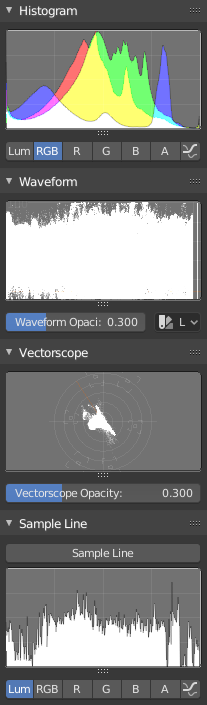
Scopes in the Image editor.
Histogram
This mode displays a graph showing the distribution of color information in the pixels of the currently displayed image. The X axis represents values of pixel, from 0 to 1 (or 0 to 255), while the Y axis represents the number of pixels in that tonal range. A predominantly dark image would have most of its information toward the left side of the graph.
Use this mode to balance out the tonal range in an image. A well balanced image should have a nice smooth distribution of color values.
- Luma
Shows the luminosity of an image.
- RGB
Shows the RGB channels stacked on top of each other.
- R/G/B/A
Depending on the channel you choose the scope will show the appropriate channel.
- Show Line
Displays lines rather than filled shapes.
Waveform
- Waveform Opacity
Opacity of the points.
- Waveform Mode
- Luma
ToDo.
- YCbCr
ToDo.
- Parade
The RGB channels are shown side-by-side.
- Red Green Blue
Shows the RGB channels overlaid as a “Full color” waveform. It is useful for color grading.
Vectorscope
- Vectorscope Opacity
Opacity of the points.
Sample Line
The Sample Line scope is the same as the Histogram but allows you to get the sample data from a line.
- Sample Line
Used to draw a line to use to read the sample data from.
Scope Samples
- Full Sample
Sample every pixel.
- Accuracy
Proportion of original image source pixel lines to sample.