First Steps
In the following we will briefly describe the steps necessary to correctly walk into a house. Depending on your actual scene, this process may differ in part.
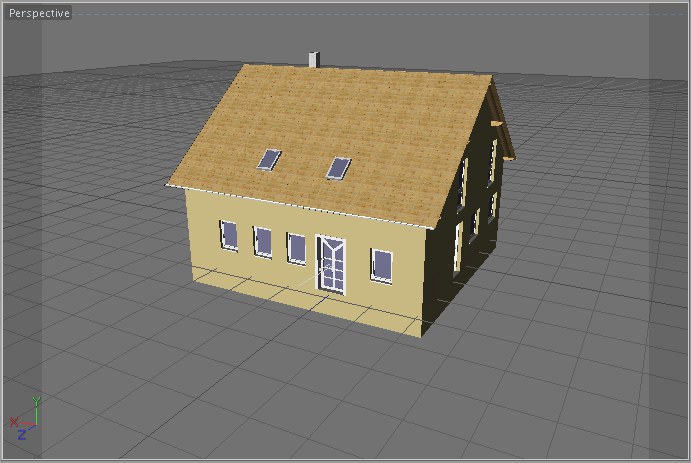
As a rule, objects used in a virtual walkthrough will be imported into Cinema 4D from a foreign format (e.g., CAD). Once in your scene, these imported objects will initially float freely in space. In the following scene a house, including materials, was used.

What we want to do in this example is to use the Virtual Walkthrough tool to enter the house via the front door. This is done as follows:
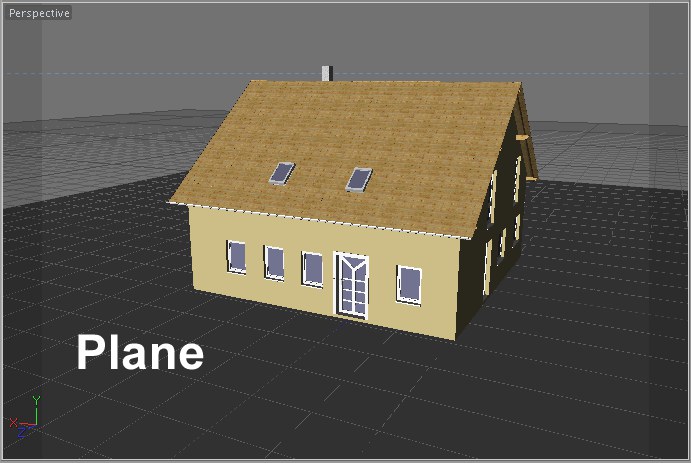
- Most virtual walkthroughs will require a polygonal floor (unless you want to float through a scene in Fly-by mode). Create a plane (main menu: Create / Primitive / Plane) and scale and position it as an actual floor would be:

- Generally speaking, the front door of an empty house will be closed. Although collision control will prevent you from entering the house you do have two possibilities at your disposal to do so:
< - You can open all doors through which you want to pass using the Cinema 4D Rotate tool (this will require that you move each door’s axis to the appropriate location (main menu: Mode / Object Axis)). Somewhat less laborious is the second method:
- You can assign a Collision Detection tag to each door (Object Manager: Tags / Other Tags / Collision Detection Tag). This will let you pass through portals like a ghost. Make sure that the Activate Collision Detection option is disabled. If a door consists of many individual objects that are grouped under a Null Object the Collision Detection tag should be assigned to the top-most object in the object hierarchy in order to include all objects that make up the door.
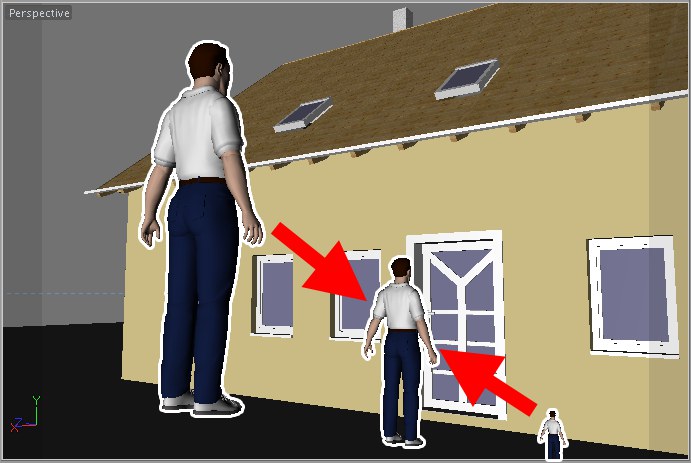
<a id="CALIB" name="CALIB"> - In this step we will adjust the size of the objects in the scene accordingly. Since most objects imported into Cinema 4D from foreign applications are either much larger or much smaller than the normal Cinema 4D format, a certain amount of calibration will always be necessary.
Load the Male figure into your scene (Object Manager: File / Load Object Preset / 3D Objects / Humans / Male). If Male is not available, a simple primitive can be used as well (Create / Primitive / Cube). Position and scale the figure so its feet rest on the floor and its overall height is approximately 3/4 that of the front door. When doing so, make sure are in Use Model Tool mode, NOT in Axis mode. The actual Eye Level setting uses an object’s overall height as its point of reference, not, in the case of our figure, the height of the figure’s eyes.
Next, activate the Virtual Walkthrough tool and drag the Male into the Auto-Setup Reference field (Scale and Threshold Values tab). This will set the Eye Level to a realistic height. Our Male has herewith served his purpose - his services will no longer be required.
You can now walk across the floor and, thanks to the calibration, even climb stairs. By default, the Stair Threshold % is set to 25% with regard to the Eye Level, which is adequate for just about any human figure.
Depending on your editor view camera position, you will be placed at a random location within your scene. Let’s say you now want to navigate to a specific point within your scene.
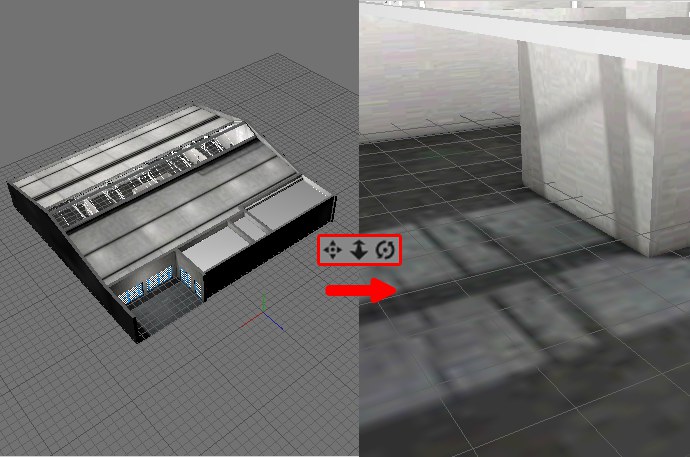
 First, use the normal move, rotate and zoom tools to position yourself just above the floor.
In the image above your initial camera position (left) is far above the object through which you want to navigate. Use the default camera to navigate to a location within the structure.
Now switch to the Virtual Walkthrough tool and calibrate the Eye Level, if you haven’t done so already.
Once you release one of the aforementioned keys within a certain distance to the plane you will see that the camera will automatically adjust to reflect Eye Level. You will know that you are standing on the floor when the following icon is displayed at the top left of your view:
